# PropellerAds integration
Source: https://skro.eu/docs/integrations/propellerads-integration
Set up PropellerAds tracking in Skro, configure traffic source parameters, and connect your advertising campaigns.
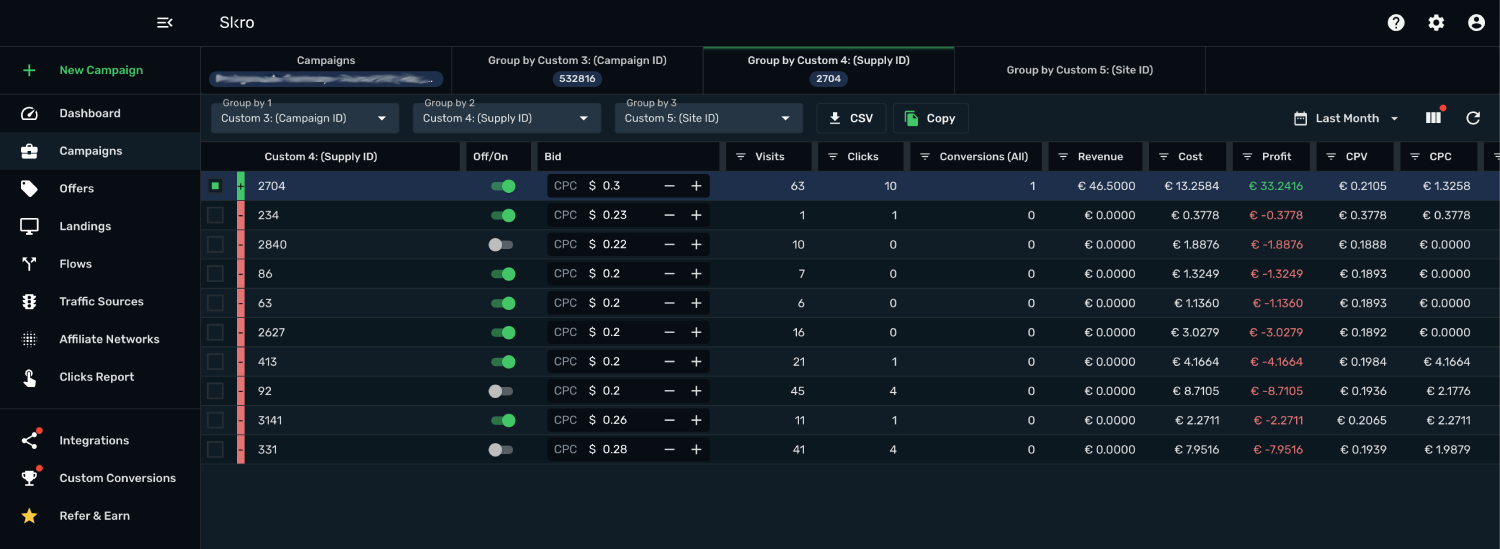
PropellerAds integration gives you the ability to manage and optimize all your PropellerAds ads through the Skro interface.
- Sync cost for campaigns, creatives and zones every 30 min.
- Check the status of your campaigns, creatives and zones.
- Pause or resume campaigns, creatives and zones.
- Change the bid value for campaigns and zones.
## How to generate PropellerAds API token? [#how-to-generate-propellerads-api-token]
- Log in to your **PropellerAds** account.
- Navigate to **Account settings** → **API Access**.

- Click **Create token**.
- Copy the token to clipboard.

## Add integration to Skro [#add-integration-to-skro]
- Log in to your **Skro** account.
- Navigate to **Integrations**.
- In the **Traffic Sources** section click **Add**.

- Click **PropellerAds** logo.

- Paste the **PropellerAds API Token** to **API Token** field and click **Create Integration**.

- You can turn on/off auto-cost update through **Data transfer** switch.

## Setup **Postback URL** and associate the integration with PropellerAds traffic source. [#setup-postback-url-and-associate-the-integration-with-propellerads-traffic-source]
- Log in to your PropellerAds account.
- Navigate to the **Tracking**.
- Select a **other tracker or CPA network**, because Skro isn't listed.
- Click link **Copy this S2S Postback URL**

- Go back to Skro and create a new traffic source.
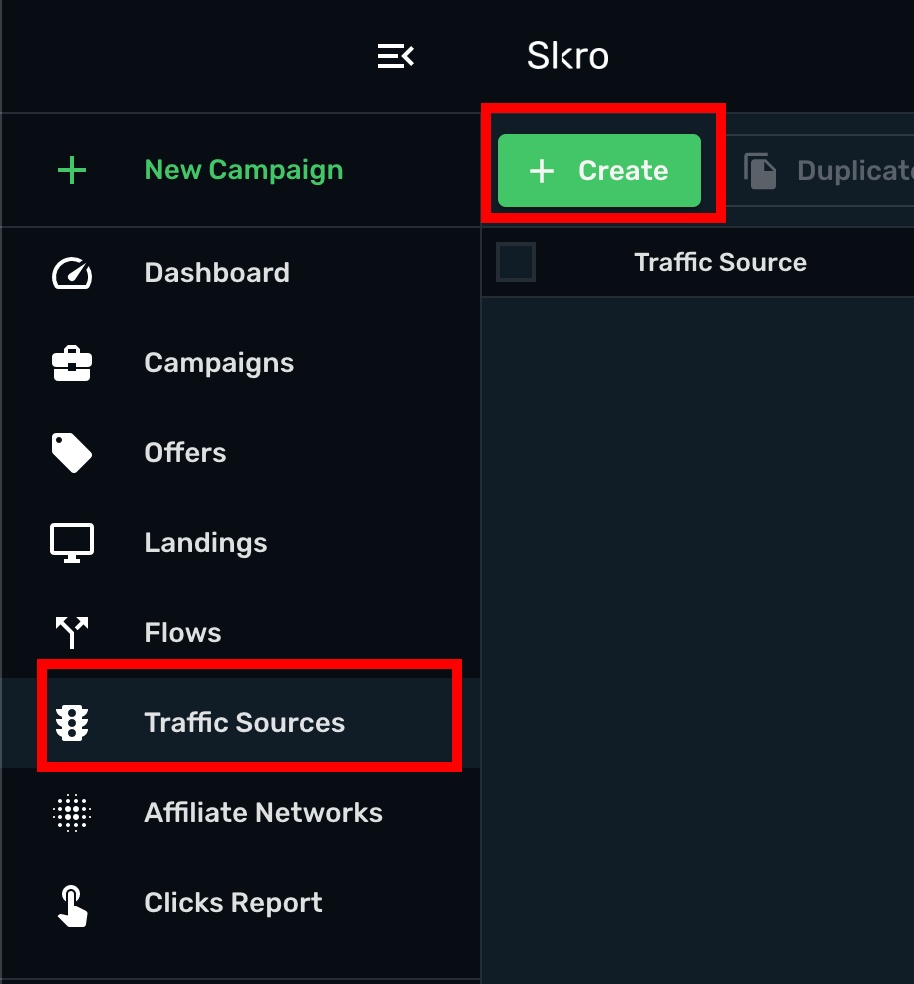
- Click **PropellerAds** logo.

- Paste that S2S Postback URL to **Traffic Source Postback URL** field.
- In this example our S2S postback URL is **`"http://ad.propellerads.com/conversion.php?aid=3490101&pid=&tid=96357&visitor_id=${SUBID}&payout=${PAYOUT}"`**
- **$`{SUBID}`** - Change this macro to **`{externalId}`**
- **$`{PAYOUT}`** - Change this macro to **`{payout}`**

- Add integration association.

- All parameters are prefilled.
- Click **Save & Close**.
The integration is ready. Continue by creating a campaign.
## Verify the setup [#verify-the-setup]
Open the generated campaign URL and check that the visit appears in Skro. Confirm that traffic source macros resolve to actual values. If you send conversions back to the source, verify a test conversion in both systems.
If data is missing, check the selected workspace, integration, campaign, and reporting date range. Compare parameter names and macro values with the examples in this guide before repeating the test.
## Related guides [#related-guides]